In this article, I wanted to document my journey of building one as a developer over a short period, what technology I used, and how I did it, with a demo of the full product at the end! This article was also writing using the AI tools developed as part of this SaaS too! (full video: https://youtu.be/UBG_YiTg_Bs )
1. Introduction
Building a SaaS application is a difficult task, but it can be simplified with the use of a few common technologies. To begin, let’s break down exactly what a SaaS application is.
A SaaS or Software as a Service is a type of product in which the software is hosted on servers owned by the software developer, rather than the consumer. A SaaS application is designed with the ability to be accessed through the internet, so this software is available anywhere with an internet connection.
There are many benefits of this type of application, including ease of use, access to the most up-to-date version of the software, and an unlimited number of individuals can be using the application at any and much more.

- Picking a topic
- Learning OpenAI
- Registering a Domain Name
- Creating a Logo
- Designing a Landing Page in Figma
- Coding the Website
- Frontend and Backend development
- Taking Payments with Stripe
- Launching it
Picking a topic
For my specific SaaS, I wanted to build a tool using AI, specifically for developers. With tools like natural language Regex commands, or fixing code, or more. I researched a number of different machine learning providers, as all the top companies have options. Microsoft, Amazon, Google options looked much too complicated and difficult to setup, and I really liked OpenAI latest GitHub Copilot system, so I decided to research and try out OpenAI.

Learning OpenAI
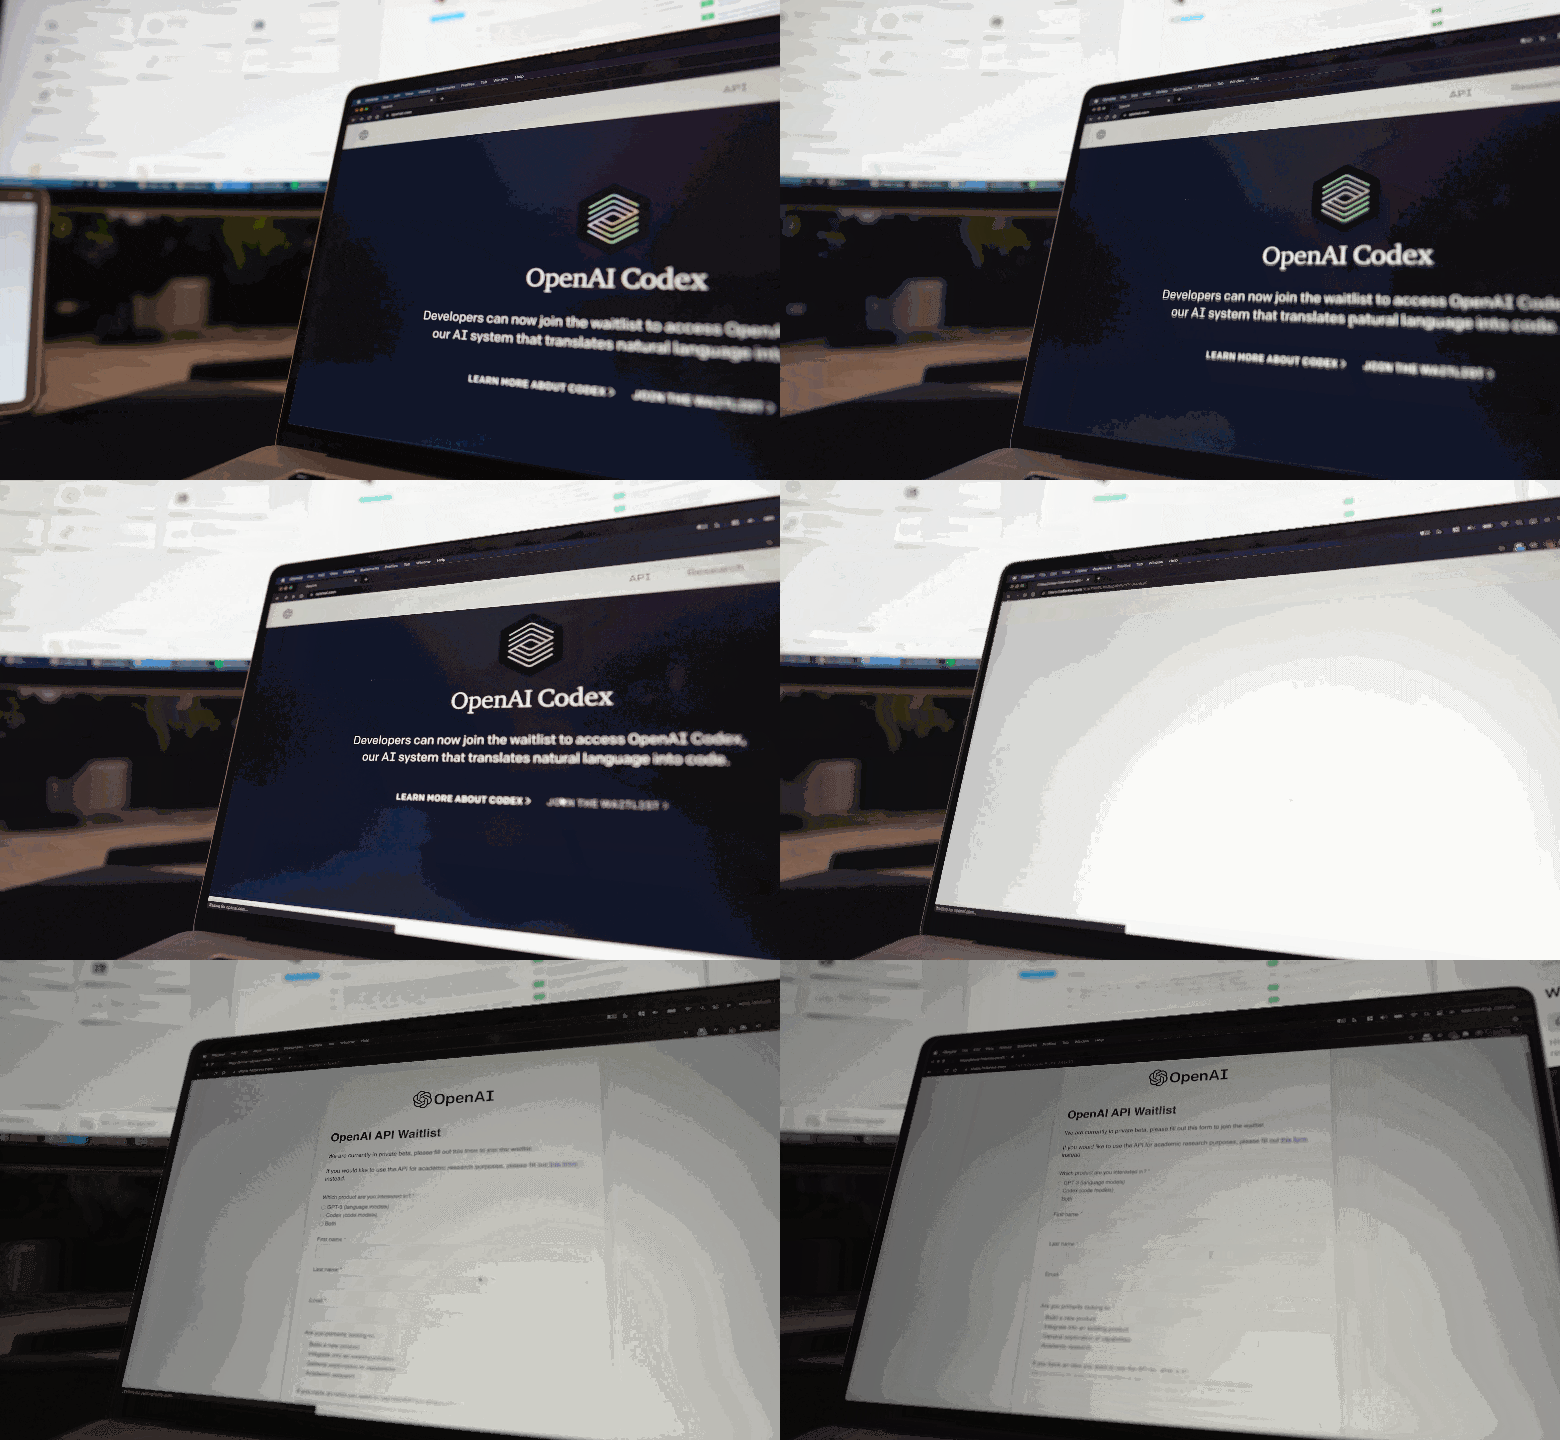
OpenAI actually not that easy to get access to. It's got a waitlist, just like Co-pilot. However I did manage to get access and was able to start taking a look at what I could build in their playground system.
Since it was the first time using AI, I was learning while practicing, but that's one of the best ways to improve as a developer. I was able to get my regex natural language system up and running, so decided to try and continue building my SaaS.
Registering a Domain Name
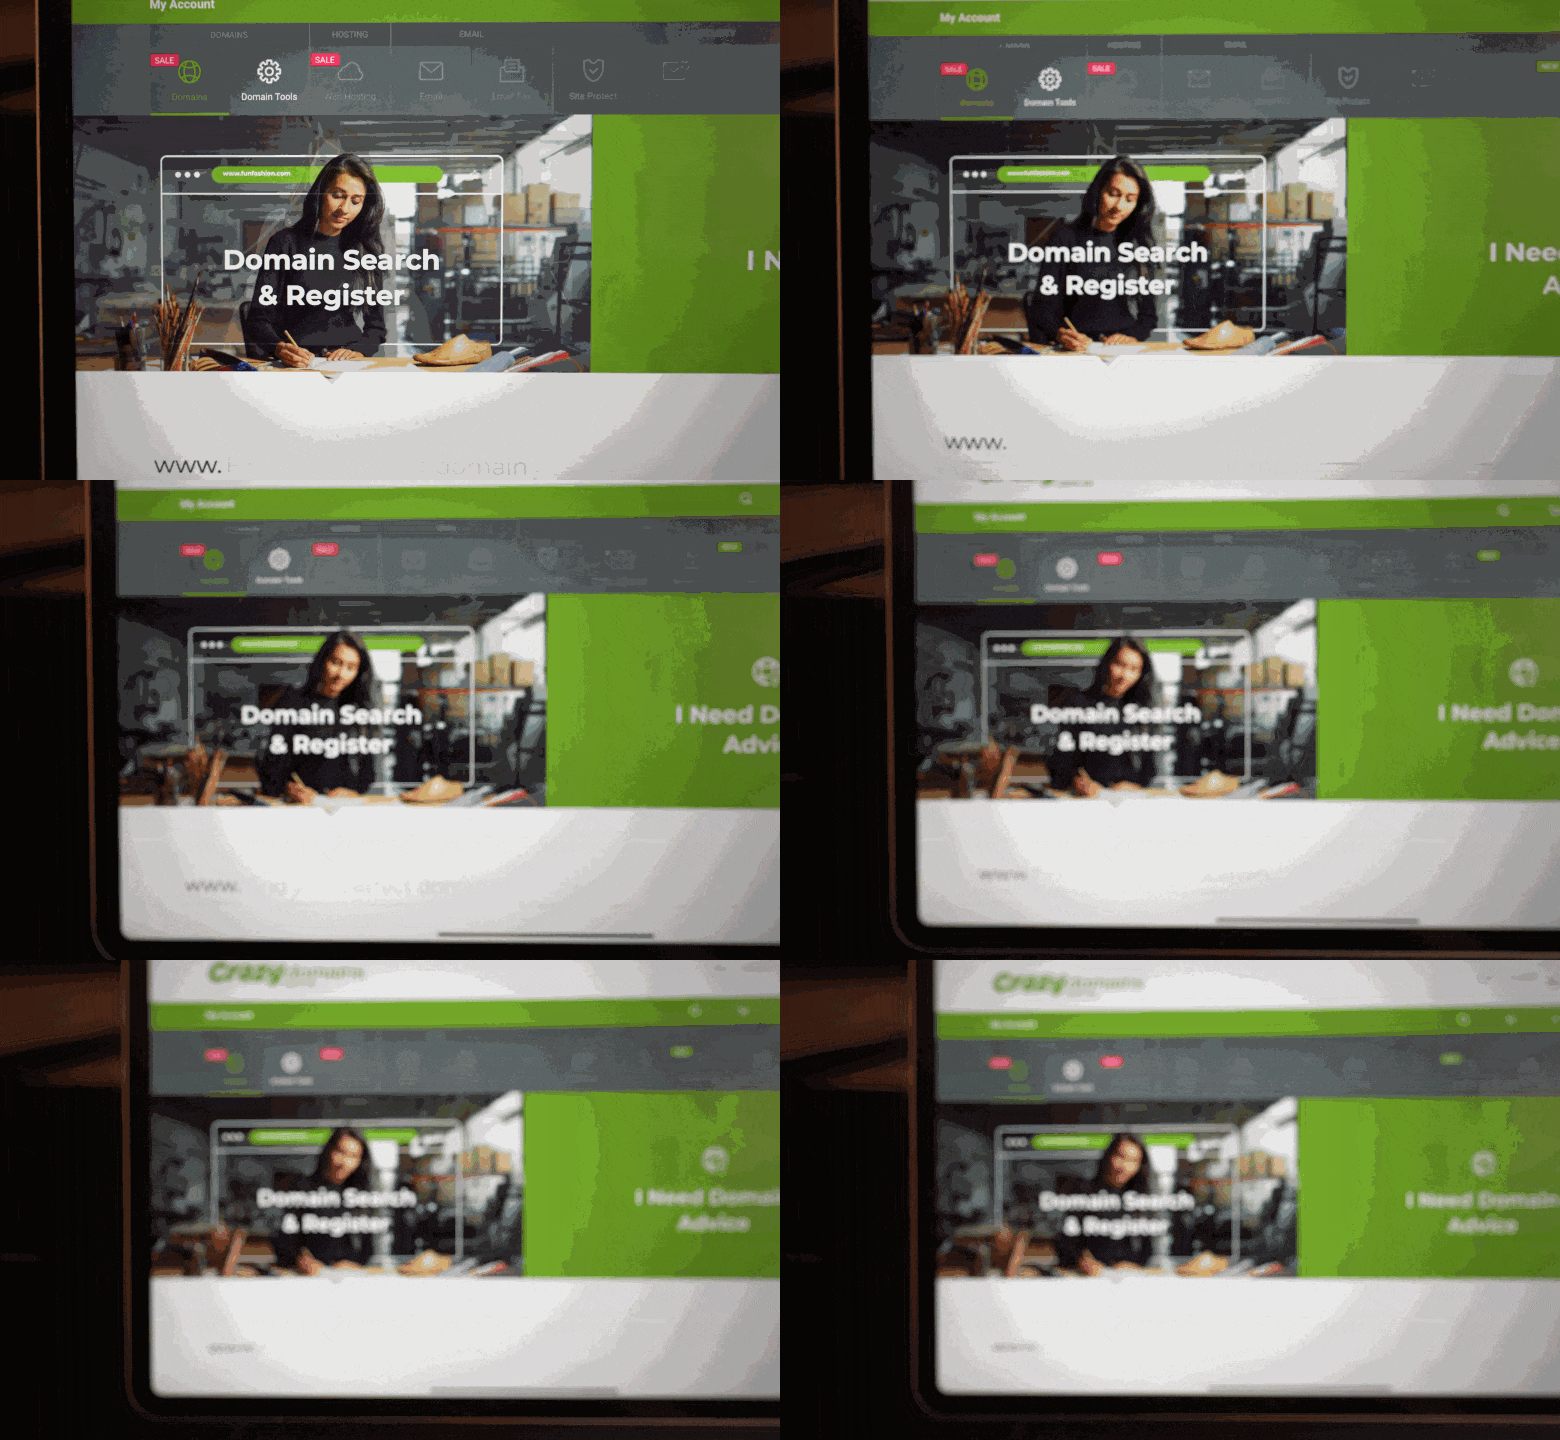
As a developer, I own many domain names, a lot of them not in use. Time to register another! I picked a name for the business, subeditor... however I was unhappy with it, so decided to go with Enhance AI. I registered an .ai domain name and now it's time for a logo
Creating a Logo
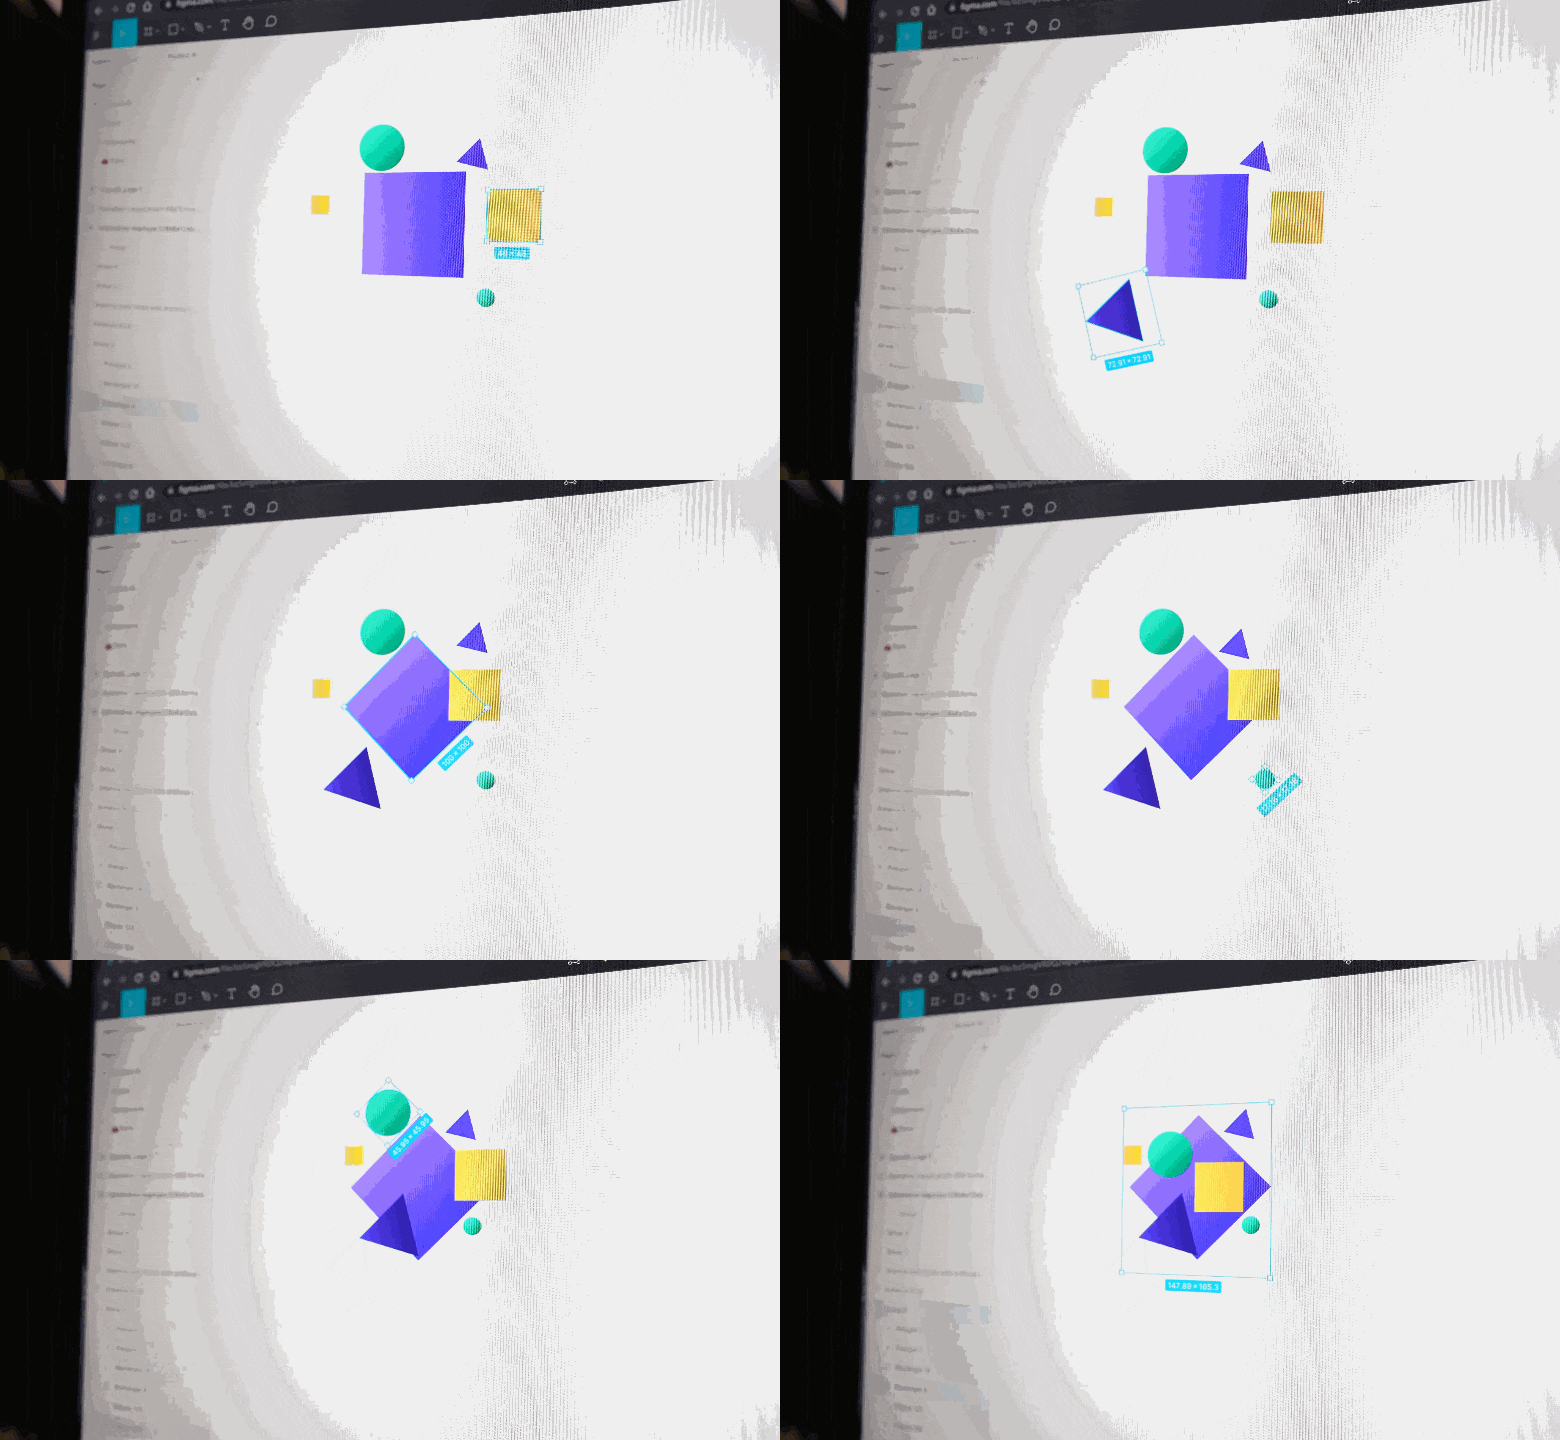
The logo needs to represent a business, so I was looking for something that focuses on AI and developers. I ended up creating a bunch of shapes and colors for my logo, and since I just wanted to get started, I was happy with it and moved onto the actual design of the landing page!
Designing a Landing Page in Figma
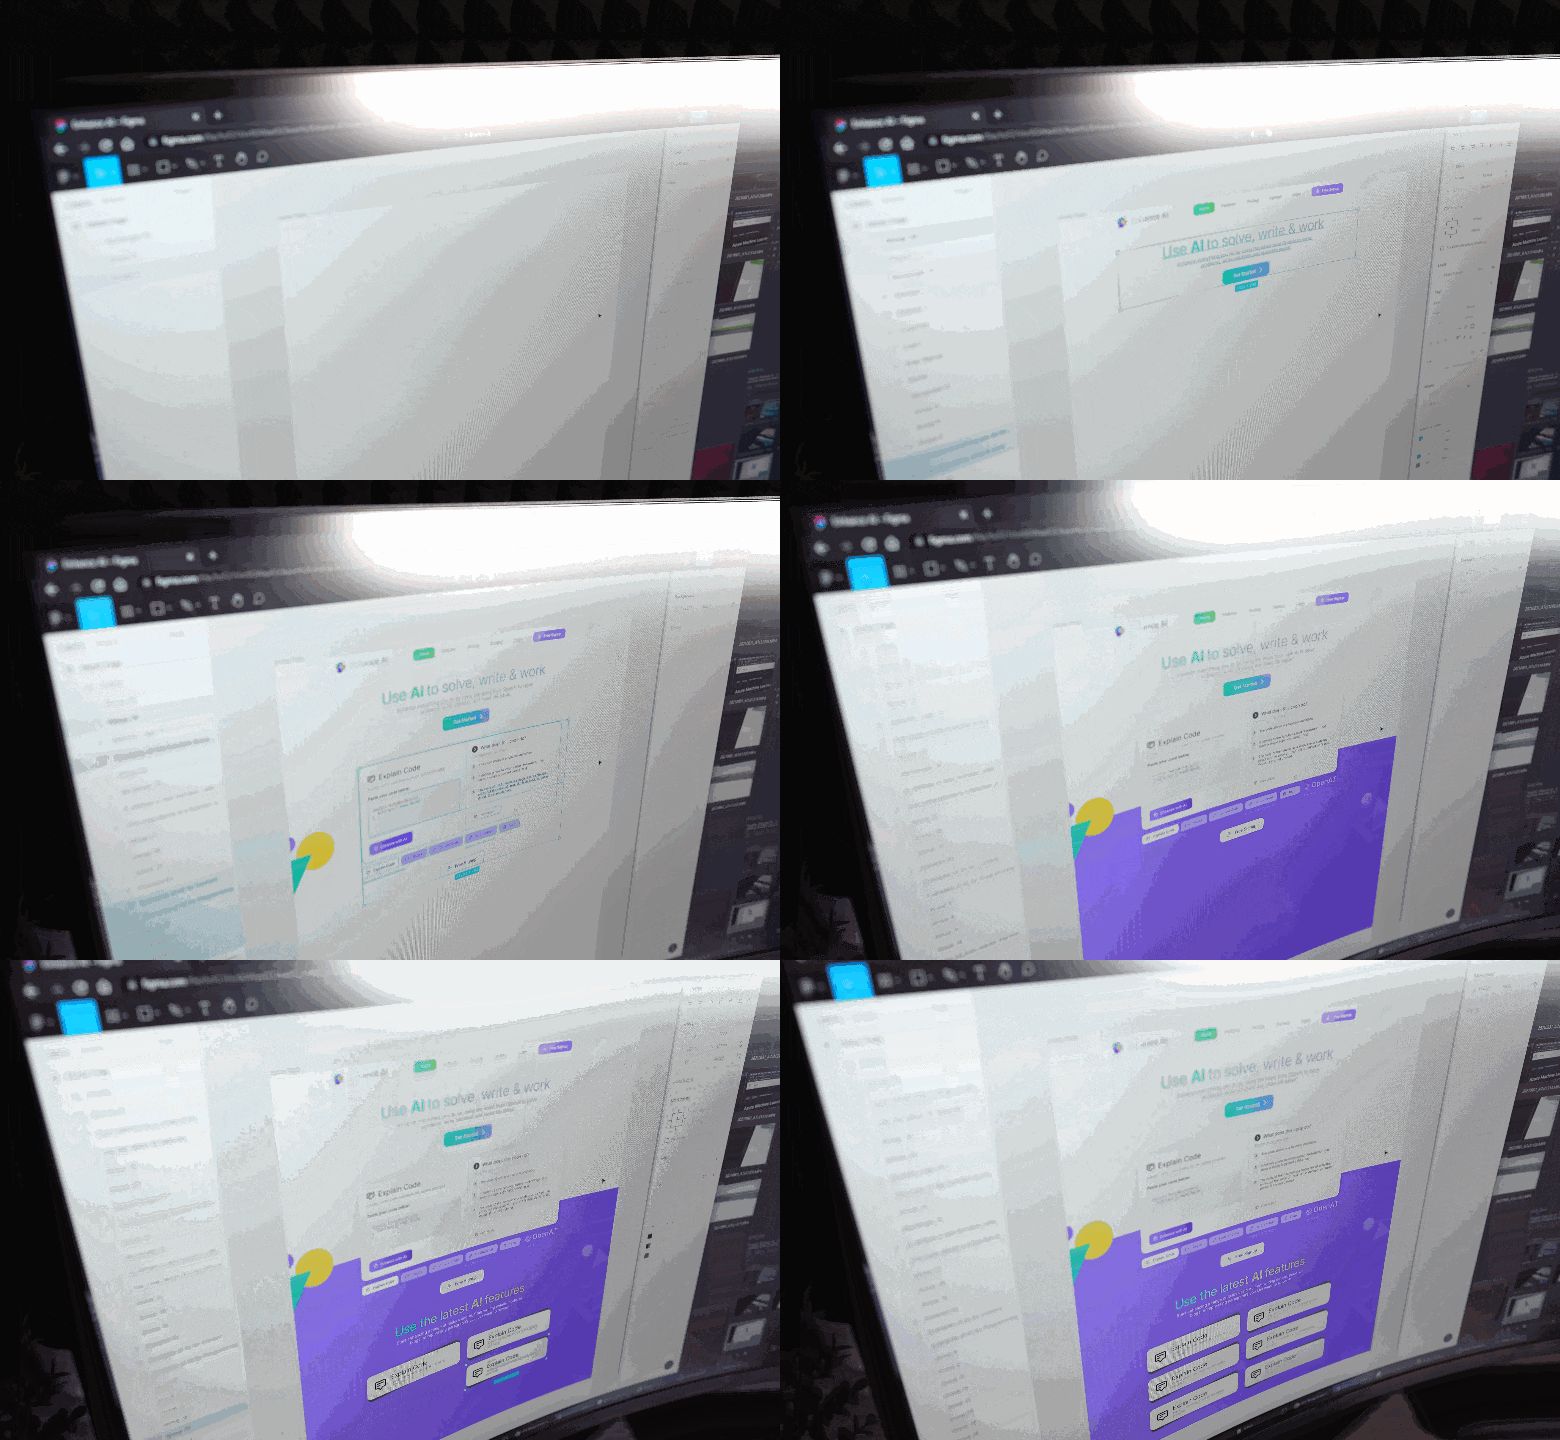
I started out with the colors from the logo, then created a landing page based of that. I always felt that the landing pages these days were too generic and don't provide enough information about a product.
So I put in lots of examples to showcase what the product actually looks like and how it works. This is what I ended up with and I was quite happy with it.
Coding the Website
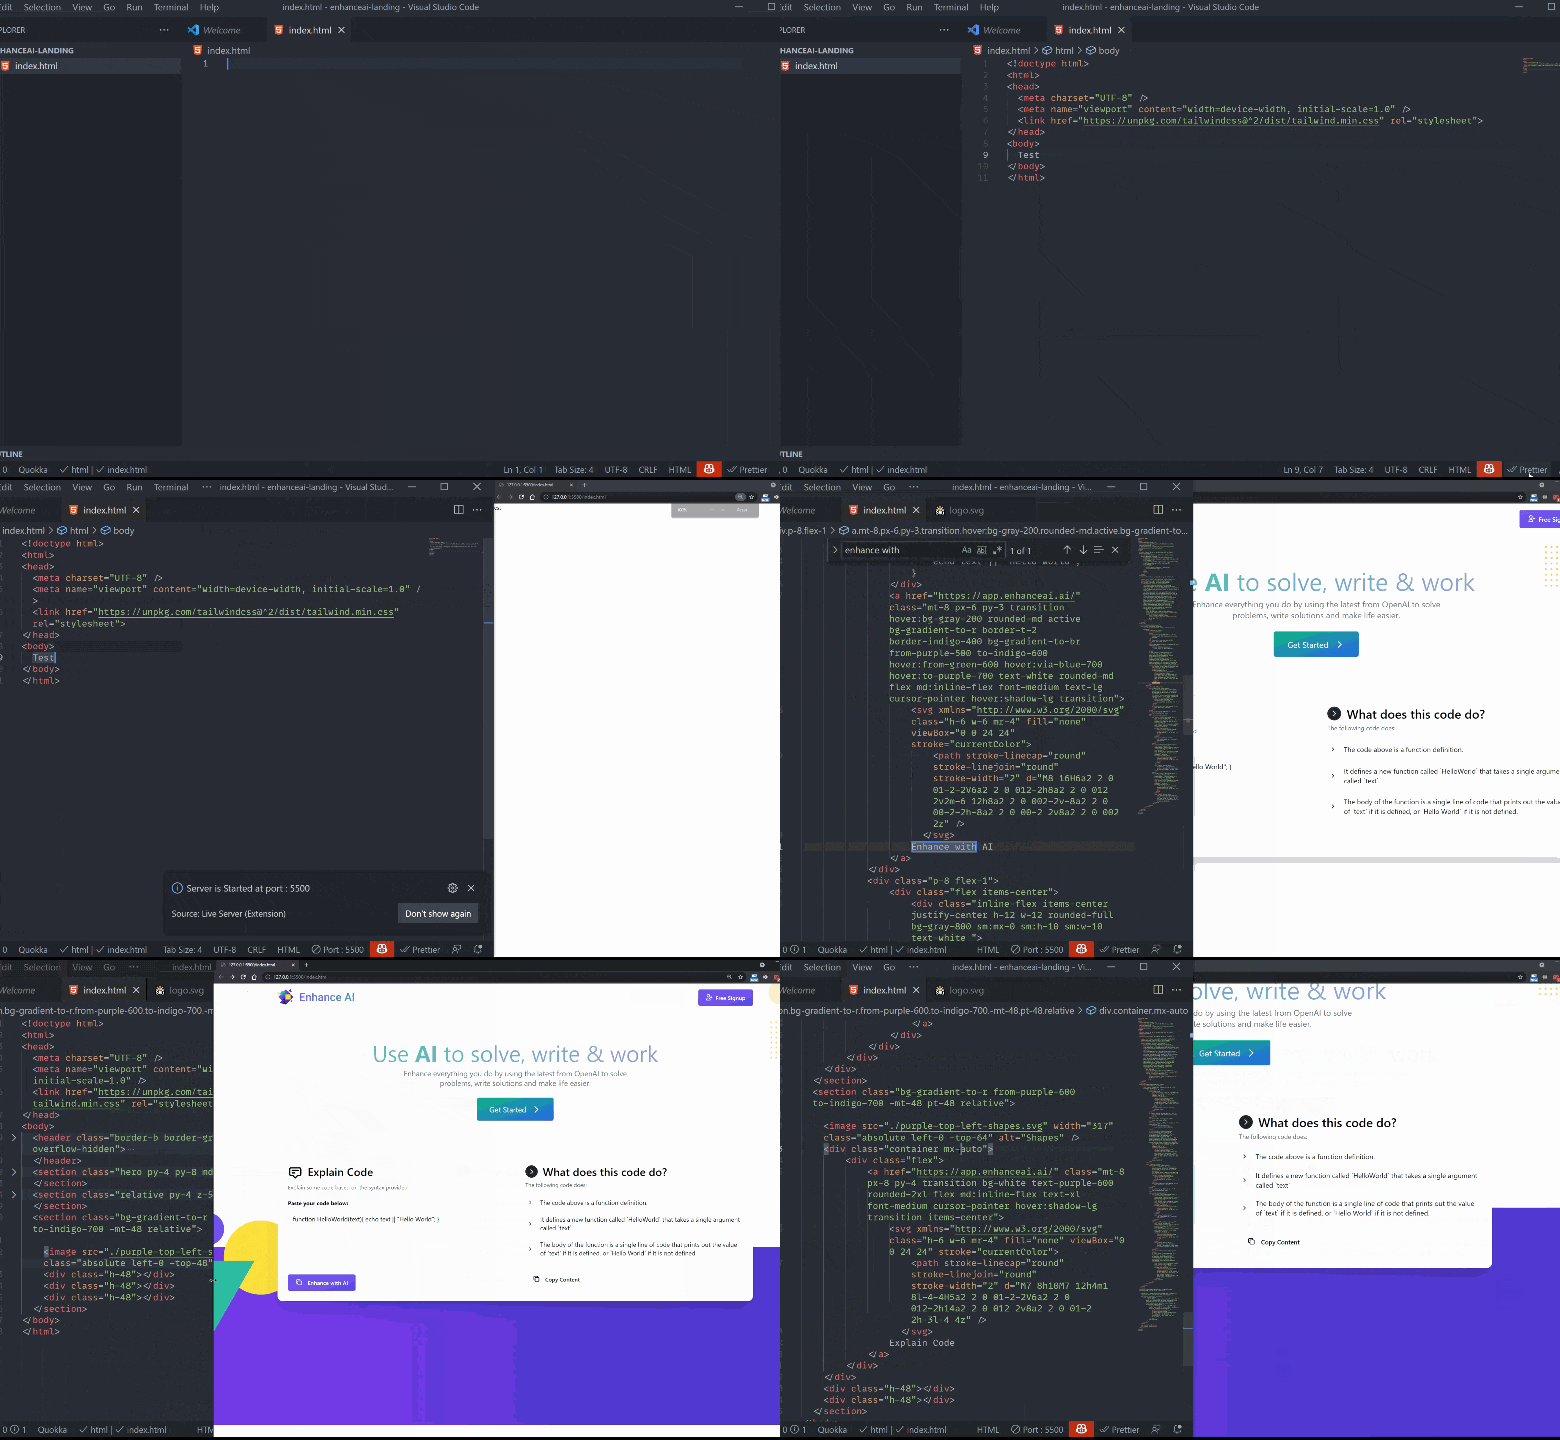
I used React to build the actual app version of the website, and webflow to build the landing page. Don't judge me for webflow, as it helped me build a page quick and easy based on the UI design I had already created in Figma.
The goal is often getting the job done, and while webflow did that for the landing page, react was needed for the app itself. I implemented things like react router for pages, mobx for the store, and axios for the API.
Frontend and Backend development
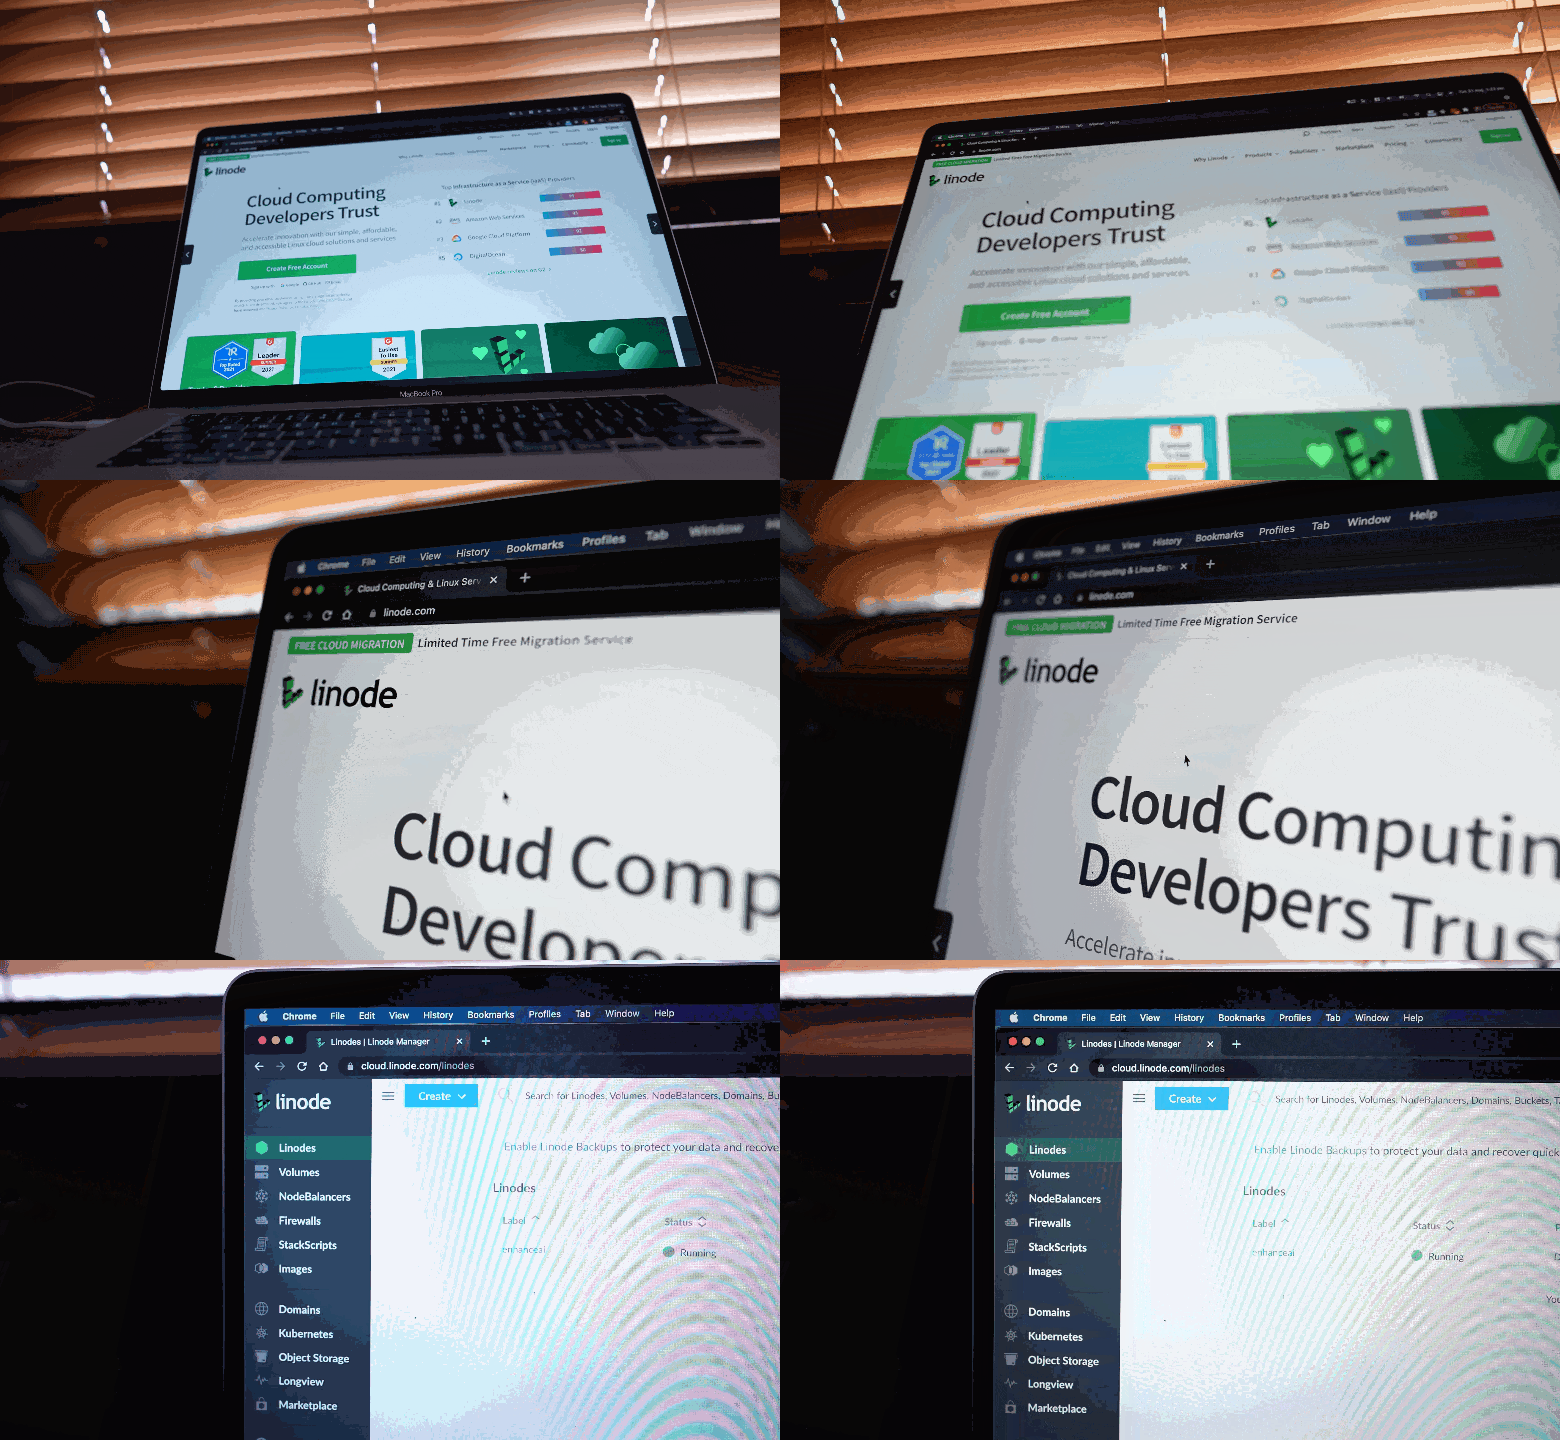
With the front-end more or less done, I worked on the backend next, which was a VPS I hosted on Linode running Linux. Since I know bash and a few other commands, I created it myself with express and node.
It hosts the application while connecting to a cloud mongo database to store users, prompts, and more. It also serves the react application which was technically just created react app bundled together.
Taking Payments with Stripe
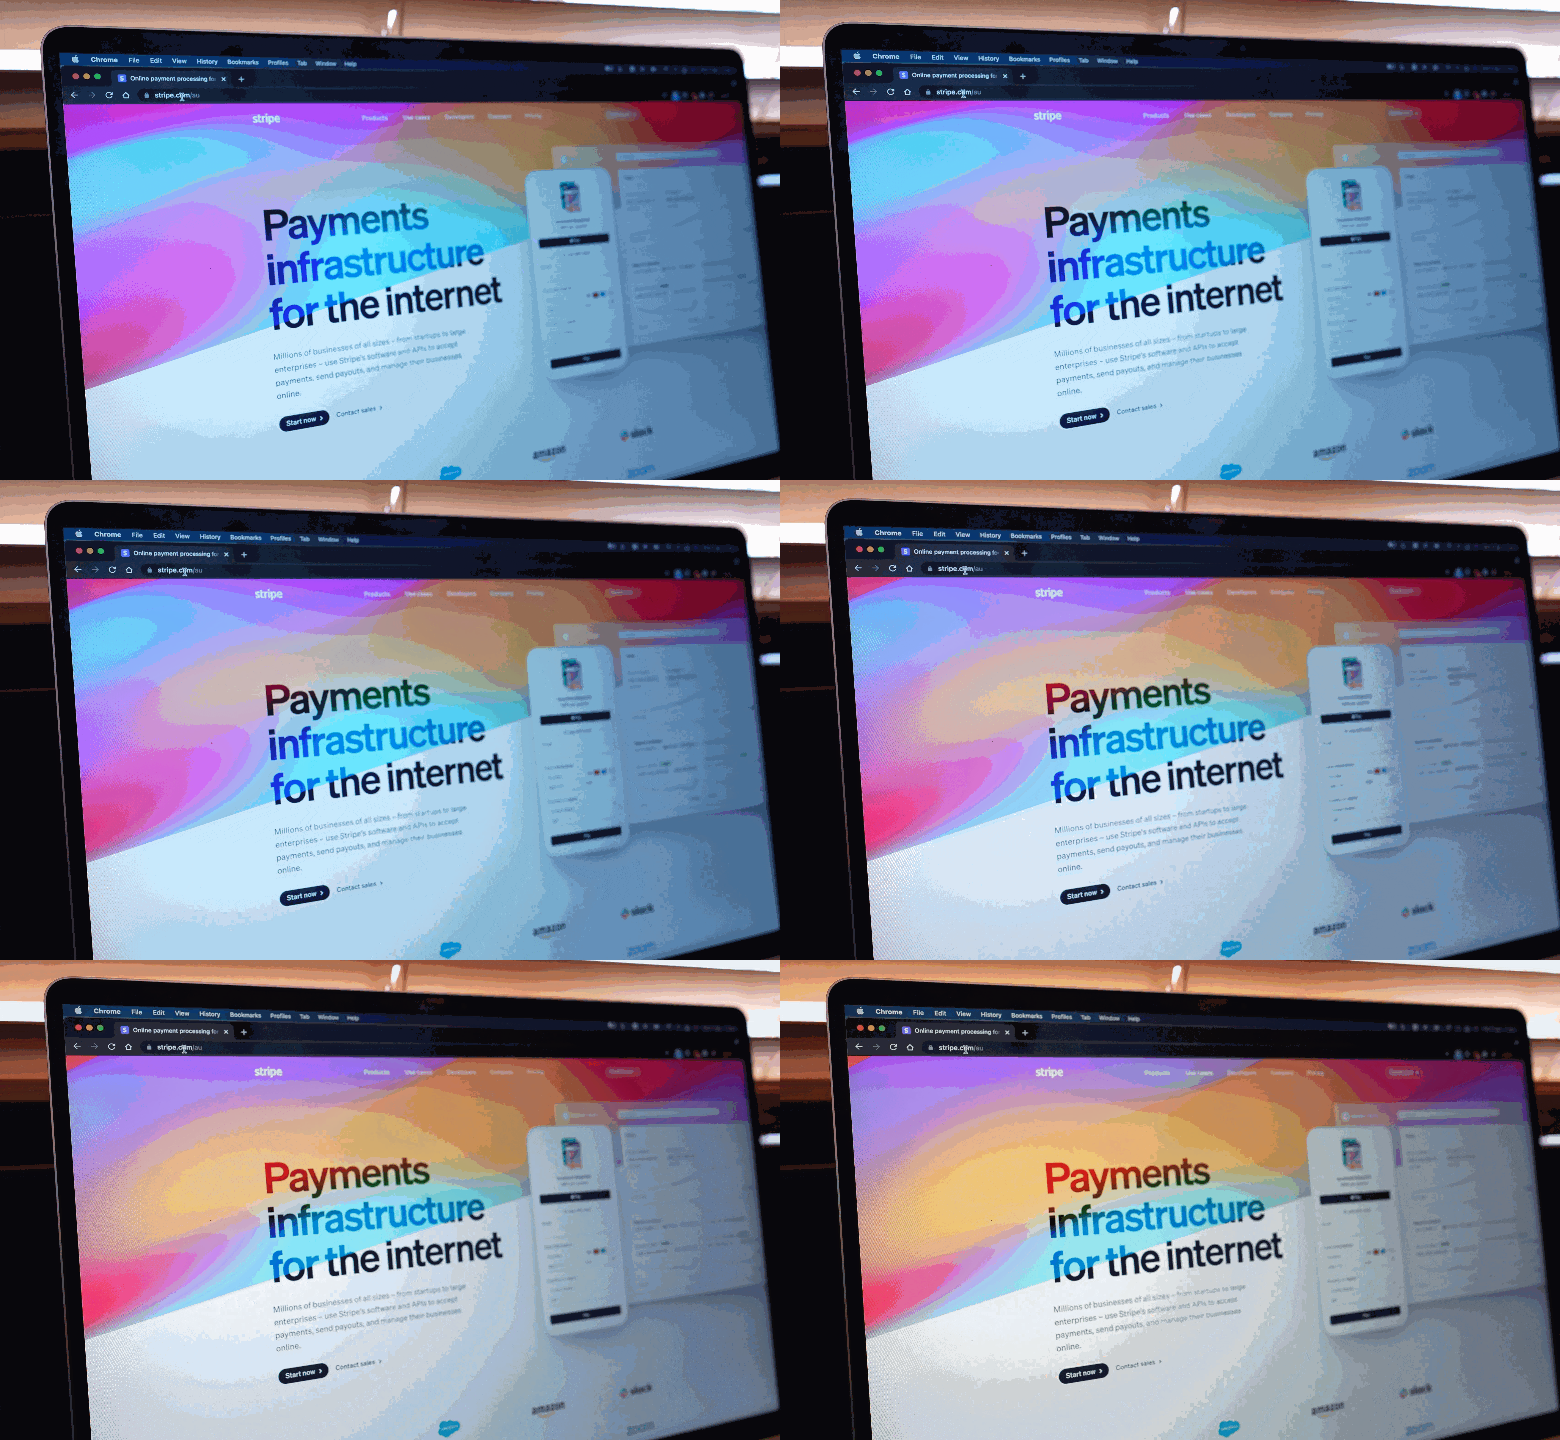
With the front-end and backend done, I moved onto adding a payment processor, in this case, Stripe. It's one of the easiest to get up and running and their documentation made integrating a subscription-based service quick and easy.
Launch
I'm finally done and can launch the entire application now. I created, I posted on twitter a preview of how it works, and created a youtube video of the journey of creating it. I also wrote this article as a summary of how I did it too!
Feel free to check it out below Website: https://www.enhanceai.ai Twitter: https://twitter.com/EnhanceAI
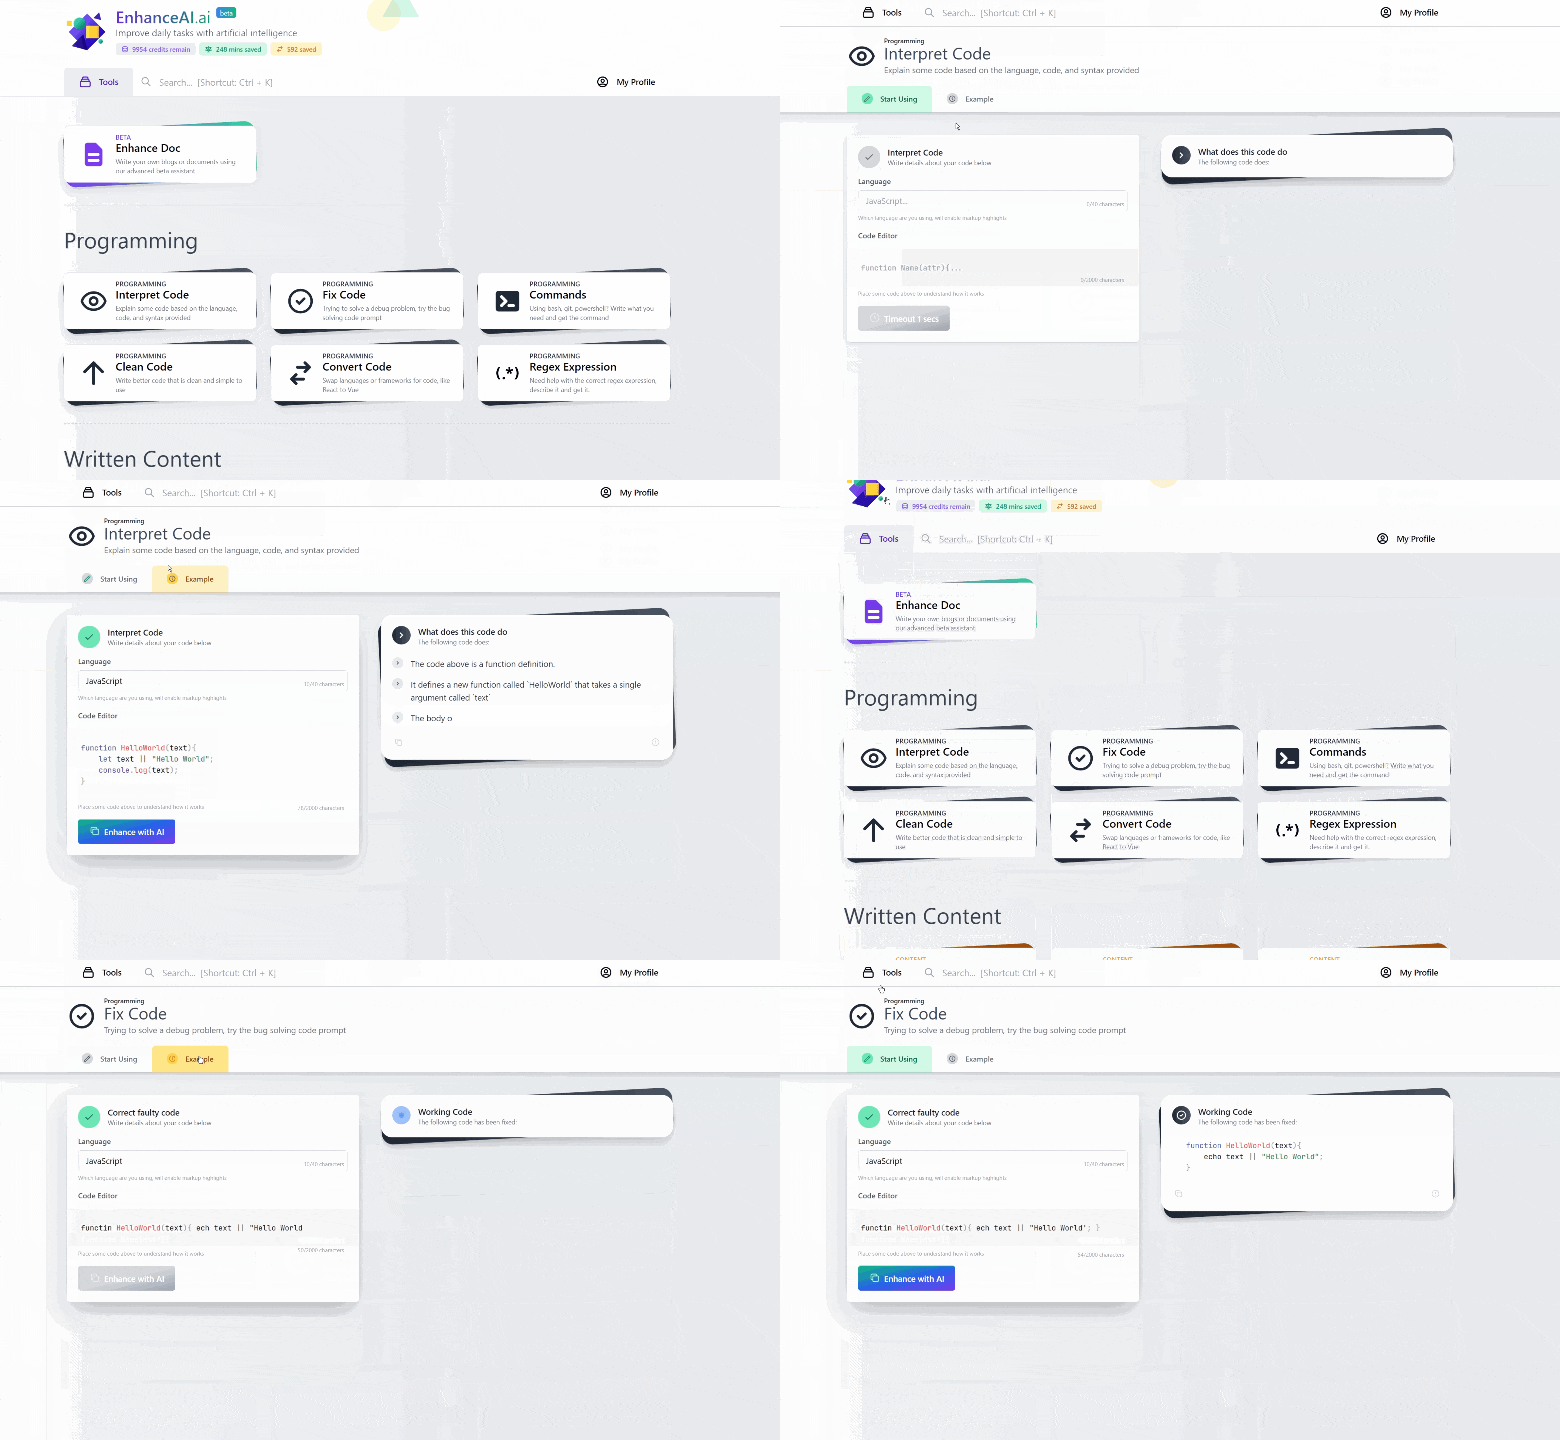
I did a video about building it as well that you can check out below if you want more information about the journey!
Hope you guys enjoyed this article!

